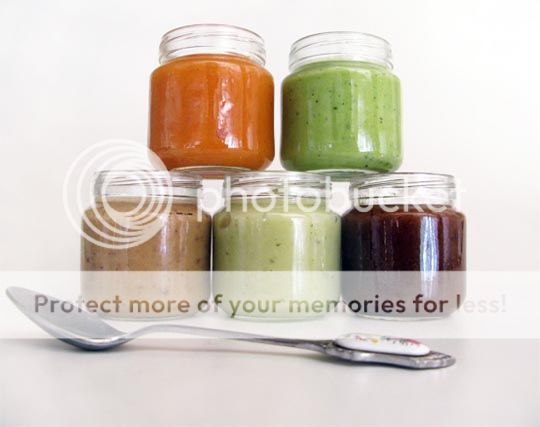
I will be the first to admit that the idea of making your own baby food can seem rather daunting. I mean, who has the time, right? I am here to tell you that making your own baby food takes very little time, and the benefits of homemade baby food are well worth it. Also, I’m going to show you how to make homemade fruit cups! Here are the benefits of making your own baby food/fruit cups:
- Saves money! (more on this later)
- No added preservatives
- You can use all organic ingredients
- No added sugar!!! (Fruit cups are loaded with sugar!)
- You can introduce your baby to foods that are not commonly found in jarred baby food such as avocado, mango, spinach, kiwi, greens, broccoli, pumpkin and zucchini.
- You can create your own combinations based on your child’s likes/dislikes.
- You can make it in bulk. One bag of apples can make enough baby food or fruit cups to last you awhile!
I am going to take you through the baby-food-making process step-by-step. You will use this same method for making fruit cups as well. I am using organic carrots in this example.
First, I peeled my carrots and chopped them up. You only need to chop them into slices, but I did mine into small, bite-sized pieces (you will see why later).
Now you need to steam those veggies (or fruit)! I have a Beaba baby food maker that I received as a gift, but you can use a steamer basket or even a rice cooker (just use the steaming tray that came with it). You can also cook them in a crockpot or just boil them on the stove!
My carrots took 15 minutes to cook. Fruits take about 10. If you’re not sure whether they’re done, just keep checking them by poking a fork into one of the pieces. DO NOT discard cooking water!
If you’re making baby food: you now need to puree! You can use a blender or a food processor. Add cooking water if you desire a thinner consistency.
Okay, now it’s time to separate the carrots into individual portions. You can use trays made specifically for freezing baby food, or you can just use ice cube trays! Divide your puree or your chunks of fruit/veggie into the individual compartments.
If you are making fruit cups: Now you will need some of that cooking water that I told you to keep. Pour some into each compartment. This helps the chunks of fruit/veggie stay together when frozen.
Now you simply cover & freeze! When they’re completely frozen, pop them out of the tray and place them in a freezer safe bag. Thaw in the microwave or refrigerator when ready to eat.
Baby-approved!
As you can see, my daughter is starting to eat finger foods now. This is a perfect way to provide her with a nutritious meal. Here is the breakdown:
Greenwise Organic Carrots (from Publix) $1.29/bag
Servings made: 21!
Price per serving: $.06!
Price of Earth’s Best Organic Baby Food: $.99!
The savings are astounding! Even if I bought the Earth’s Best jarred food at rock bottom price (BOGO + coupon) they would still be $.32 each at best. That’s the cheapest I’ve been able to find organic jarred baby food. So we’re talking a $.26 difference per serving! Now I have about a month’s supply of carrots for my daughter, all ready to go! Just thaw & serve!
Remember, you can use this method with anything! Apples, pears, potatoes, peaches, carrots, squash, zucchini, mango, pumpkin, sweet potato – and you can even mix them! If your child likes fruit cups, I bet they won’t even know the difference. The fruit will still be “juicy” since you added some cooking water to each portion. And they will have NO ADDED SUGAR! It is a great feeling knowing that you are giving your kids pure, simple fruit and vegetables- nothing else!


Leave a Reply